
Introduction:
PayScribe.ng is an online platform that digitize cash payments, cross-border payments for businesses and individuals.
So if you're looking for the super financial apps that will help you manage your finance, pay bills locally and globally, send money to loved ones in over 100 countries. Your best option is Payscribe
Walking you through on the 3 simple steps in creating account on Payscribe via the web browser
Step 1: Visit the PayScribe.ng Website
Open your preferred web browser and navigate to the official PayScribe.ng website. The website can be accessed at https://www.payscribe.ng/.
Step 2: Click on the "Sign Up" Button
On the homepage, locate the "Sign Up" button and click on it. This will take you to the registration page.
Step 3: Choose Your Account Type
PayScribe.ng offers different account types based on your needs.
- Personal Account Type: This means you will be using Payscribe only for personal use. You can always upgrade anytime (No upgrade fee)
- Business Account Type: Do you already have a website/mobile app, and you will like to leverage on Payscribe robust product and services? Then this is the best choice
Step 4: Provide Your Details
Fill in the required information in the registration form. This typically includes your full name, email address, phone number, and password. Ensure that you provide accurate information as it will be used for account verification and future communication.
Step 5: Agree to the Terms and Conditions
Read through the terms and conditions of PayScribe.ng and, if you agree, check the box to indicate your acceptance. It's important to familiarize yourself with the terms and conditions before proceeding.
Step 6: Complete the Verification Process
After providing your details and accepting the terms and conditions, PayScribe.ng may require you to verify your account. This is usually done through an email verification process. Check your inbox for a verification email from PayScribe.ng and click on the verification link to confirm your email address.
Step 7: Set Up Your Payment Preferences
Once your account is verified, you'll be prompted to set up your payment preferences. This includes adding your bank account details or linking your card for transactions. Follow the on-screen instructions to complete this step.
Step 8: Explore PayScribe.ng's Features
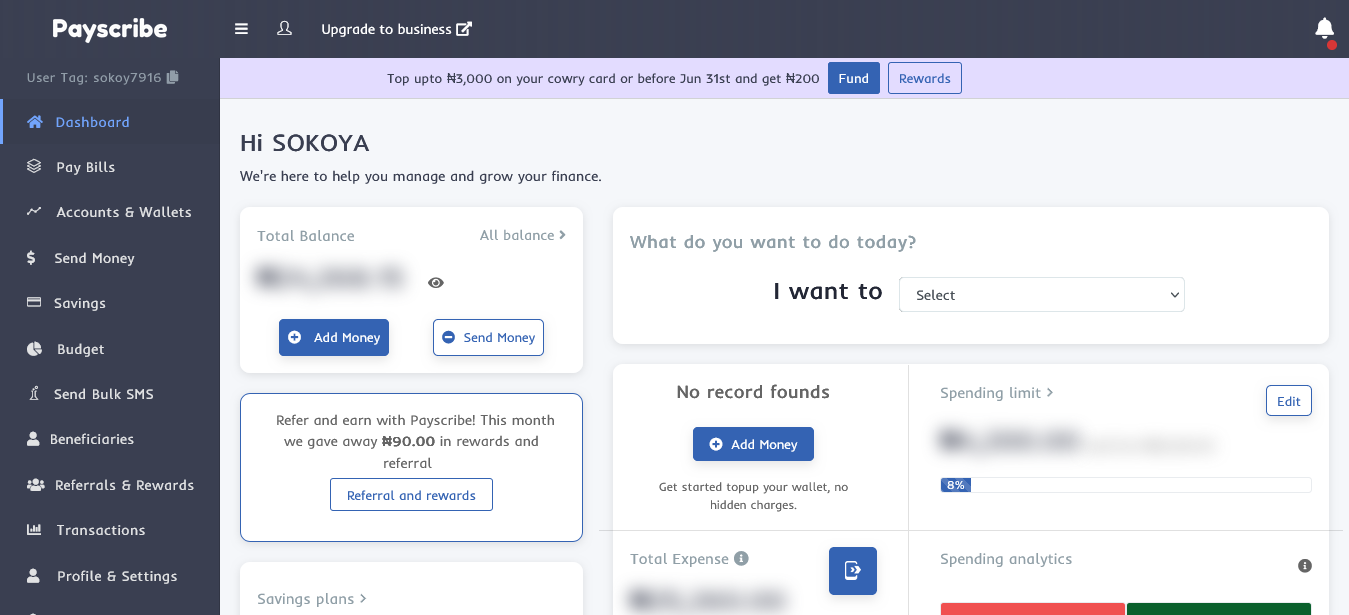
Congratulations! You have successfully signed up for PayScribe.ng. Take some time to explore the platform's features and functionalities. Familiarize yourself with options such as making payments, sending money, requesting payments, and accessing transaction history.
Signing up for PayScribe.ng is a straightforward process that allows you to access a range of payment solutions such as Airtime topup, Internet data, Bills payment (All services are available locally and globally). By following this step-by-step guide, you can quickly create your account, verify it, and begin utilizing PayScribe.ng's services.
Enjoy the convenience and efficiency that PayScribe.ng brings to your financial transactions!